Swap INS for XNS
To swap your INS tokens to XNS coins and simultaneously migrate them from the Ethereum network to Insolar MainNet, go through the following steps:
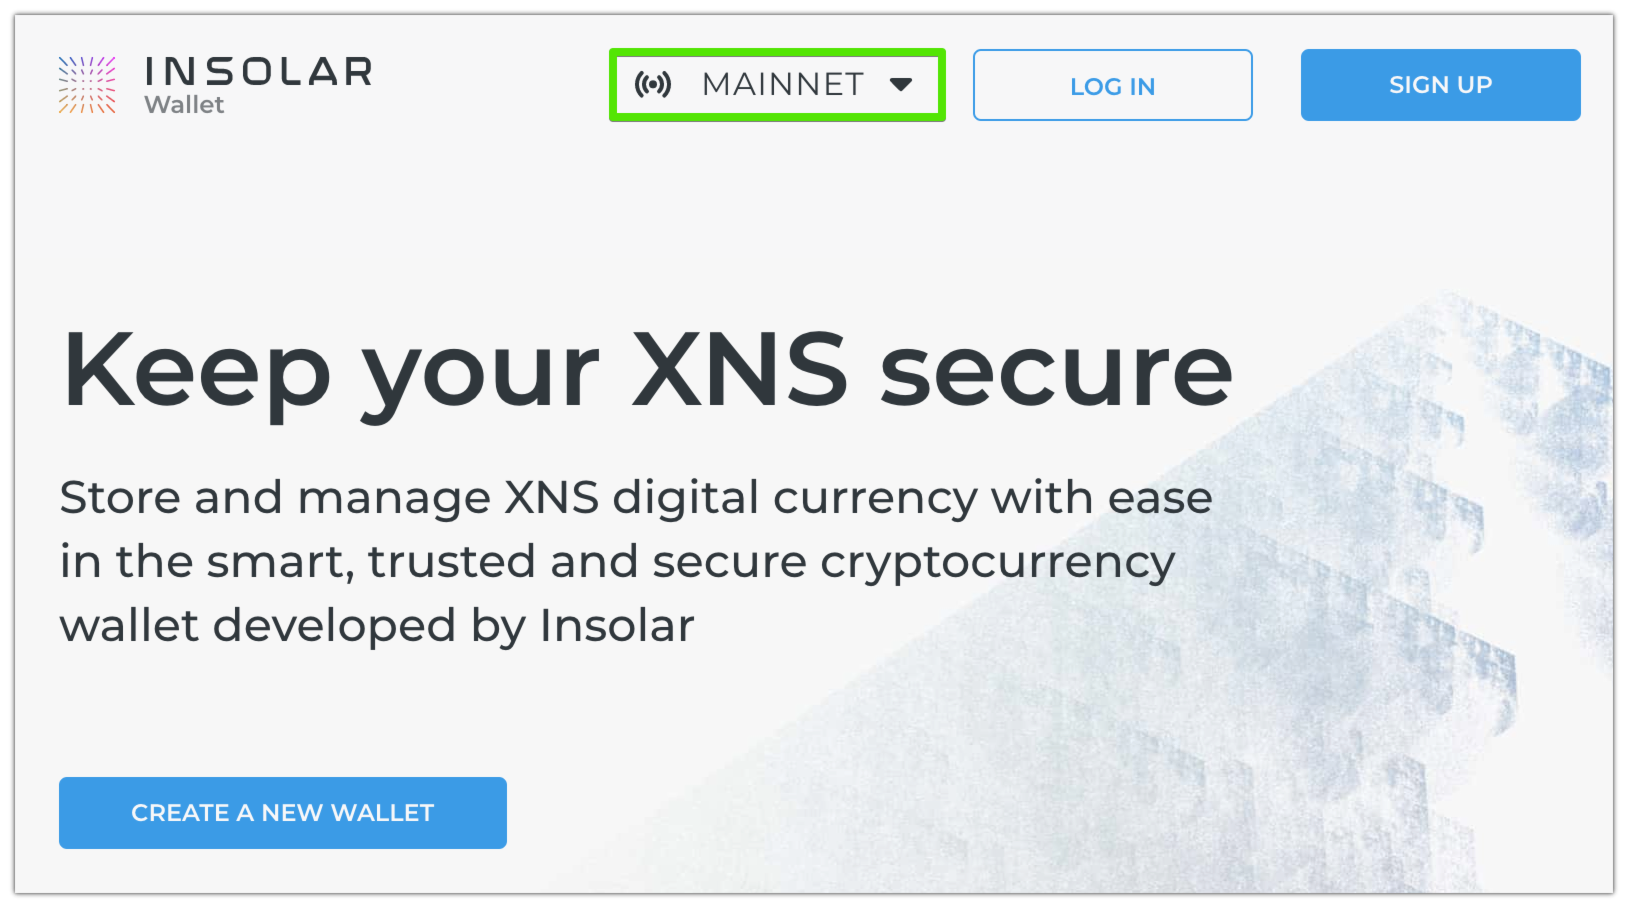
Open Insolar Wallet and make sure to select MAINNET from the drop-down list.
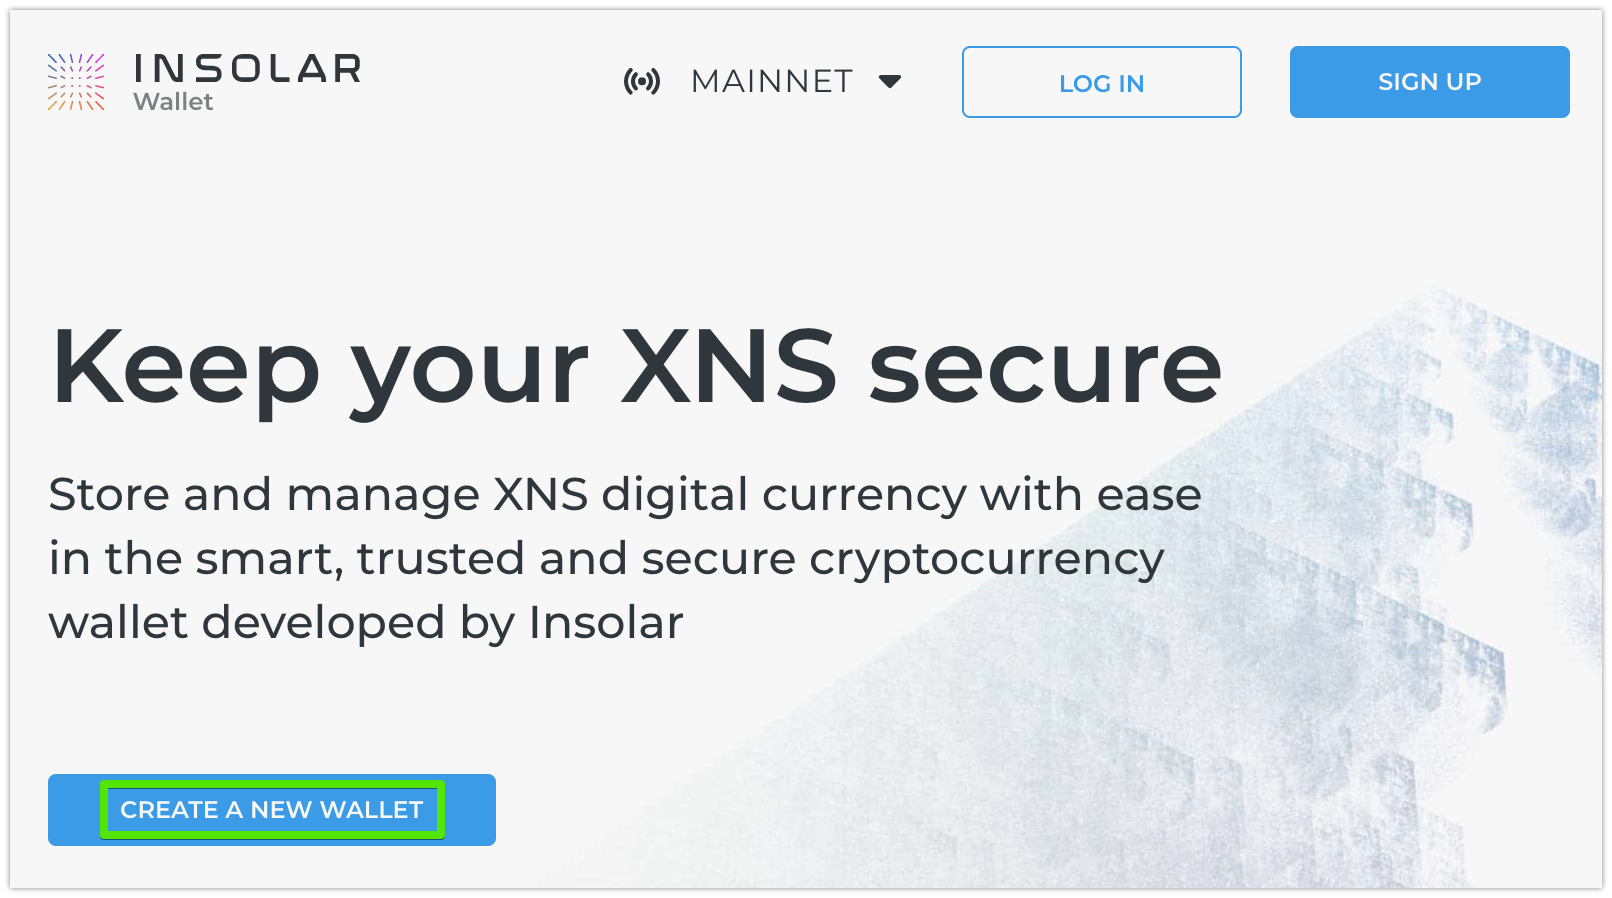
Click CREATE A NEW WALLET:
This opens a Wallet creation tutorial. Read through it attentively.
Upon creation, the wallet takes care of security for you:
Generates a secret backup phrase and private key using randomization. They are synonymous in function.
Encrypts the key with your password and puts it in a keystore file. You can use this file to access your wallet and authorize operations.
Ensures that you make a record of the secret backup phrase. Using this phrase, you can restore access to your wallet in case you lose the private key or the keystore file and your password.
Caution
You are solely responsible for keeping your funds as no one else can restore access to your wallet. Insolar does not store your credentials, encrypted or otherwise.
On the Create a new wallet page:
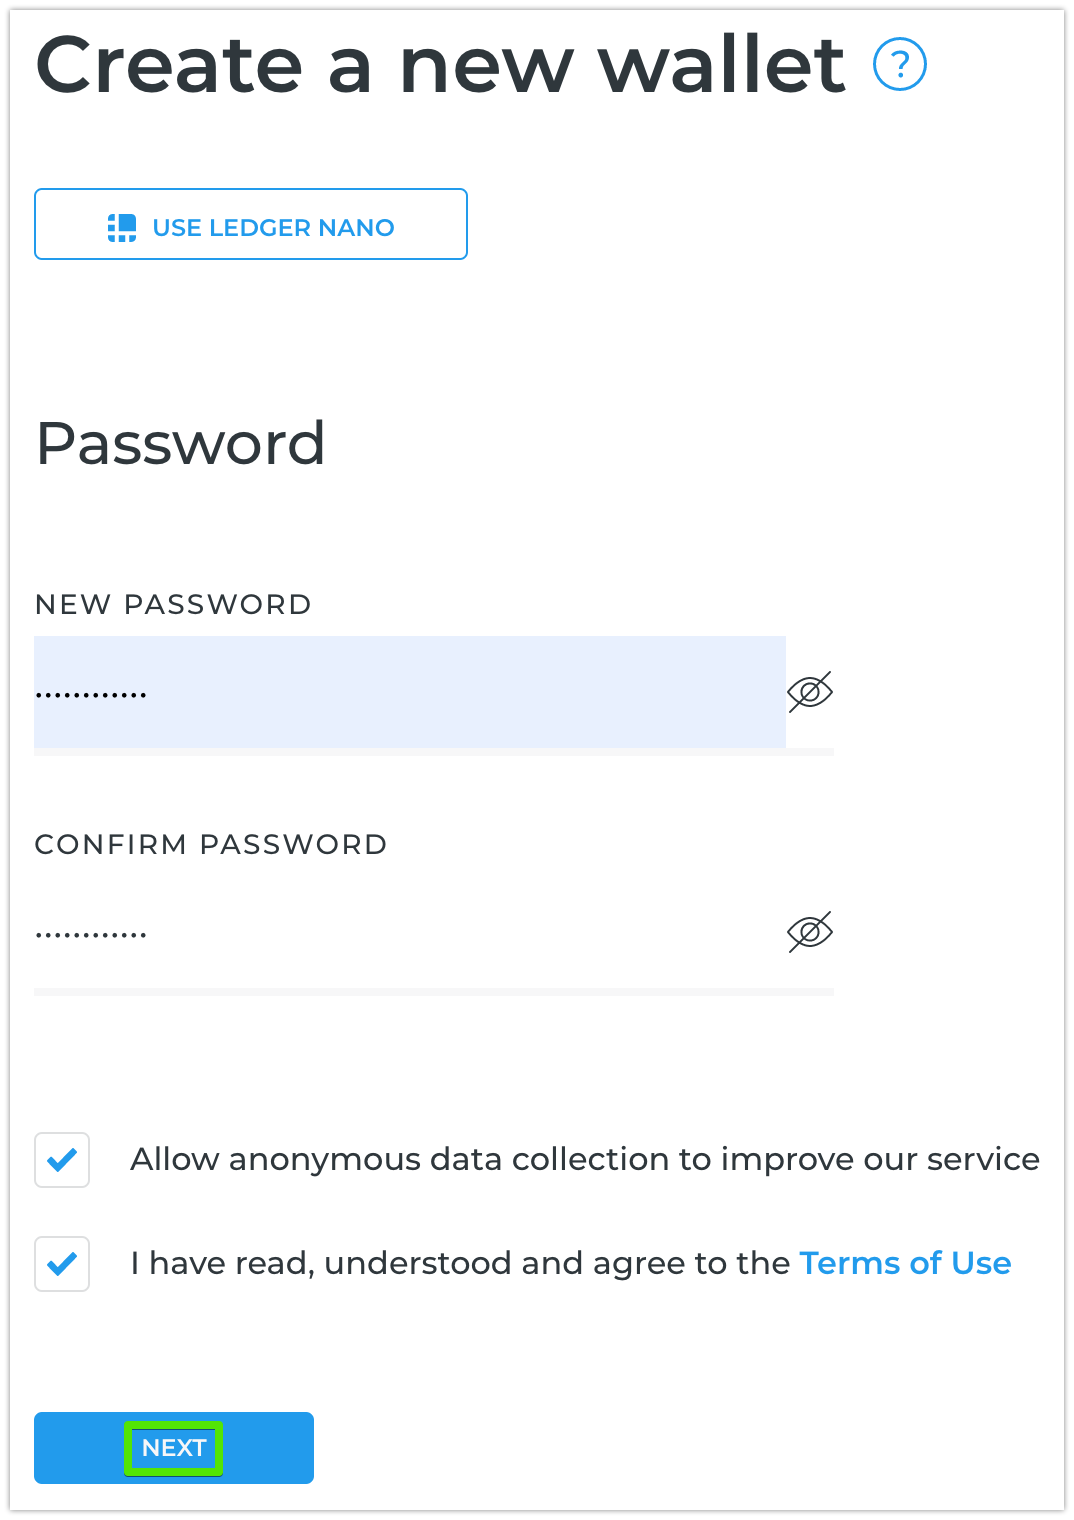
Enter a new password. It should be at least 8 characters long and contain a mix of numbers, uppercase, and lowercase letters.
Re-enter the password to confirm it.
Agree to the “Term of Use”.
Allow anonymous data collection if you want to help us improve the service.
Click NEXT.
On the next screen, click REVEAL TEXT to see the backup phrase:
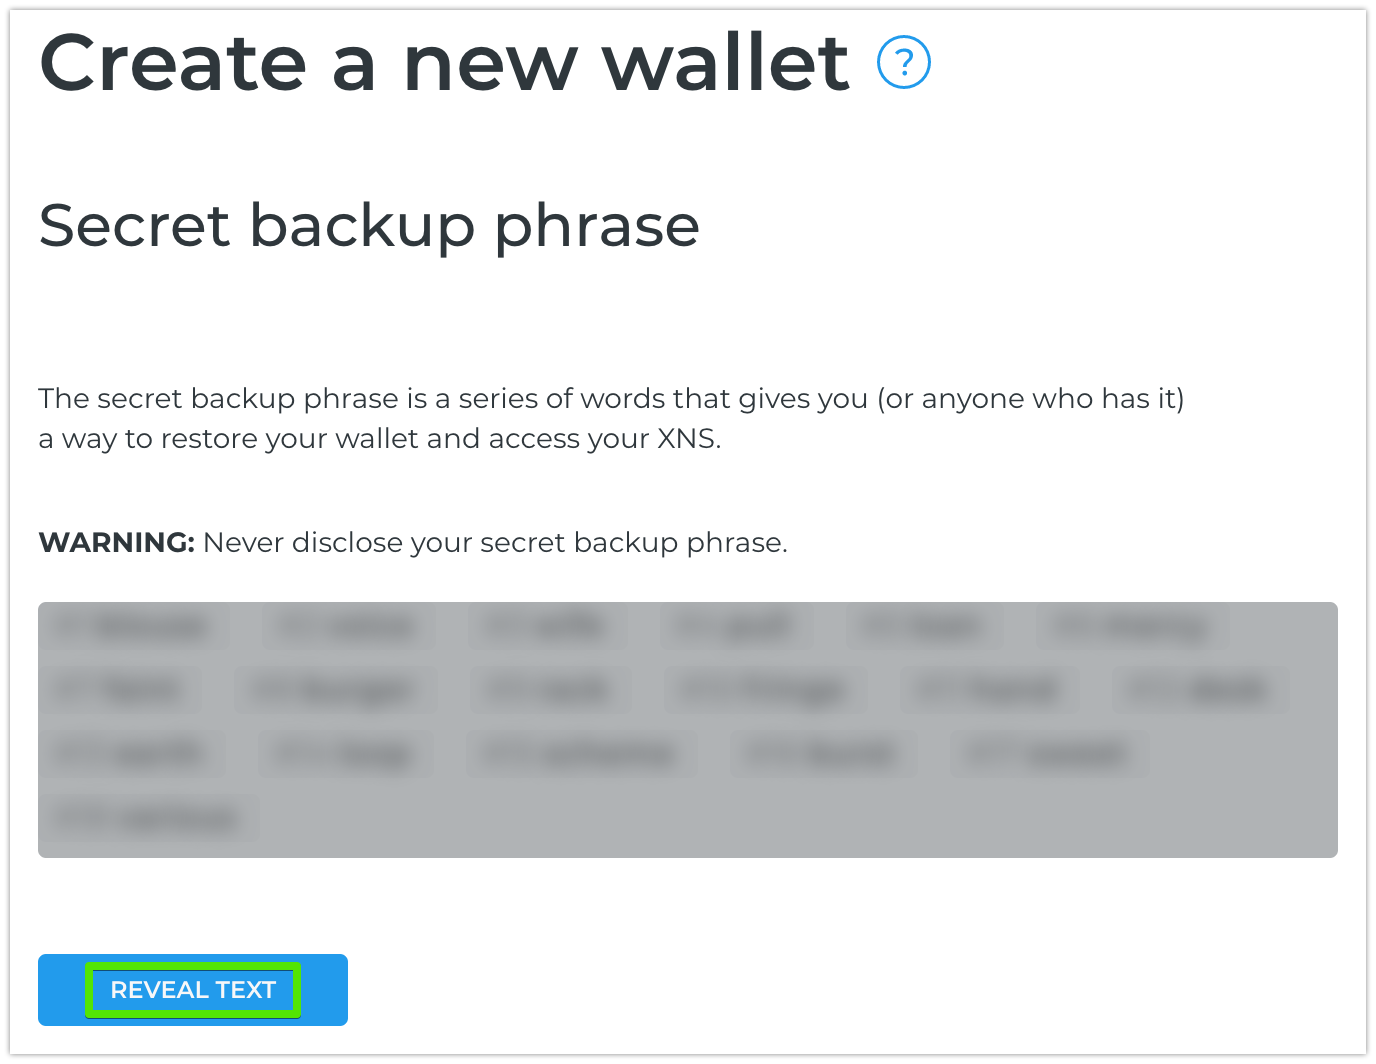
The secret backup phrase is a series of words that store all the information needed to recover Insolar Wallet. The secret backup phrase and private key are synonymous in function.
Warning
Never disclose your secret backup phrase (or private key).
Tip
Security tips:
Store the backup phrase in a password manager.
Write the phrase down on several pieces of paper and store them in different places.
Memorize the phrase.
Once you have secured the backup phrase, click NEXT.
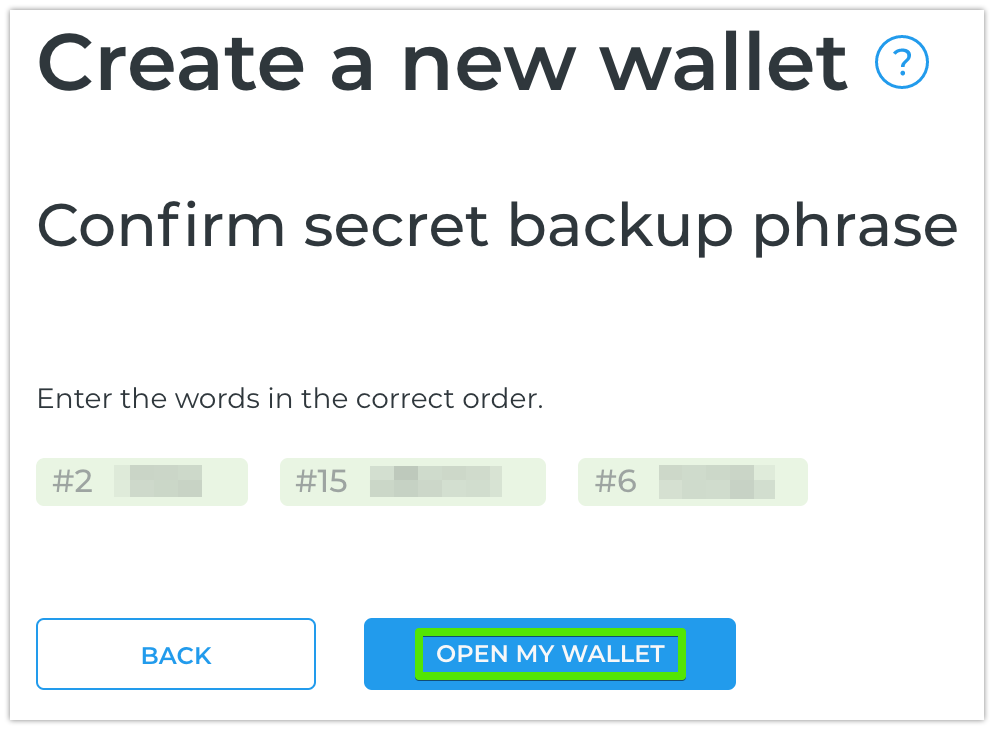
On the next screen, enter the requested words in the correct order and click OPEN MY WALLET:
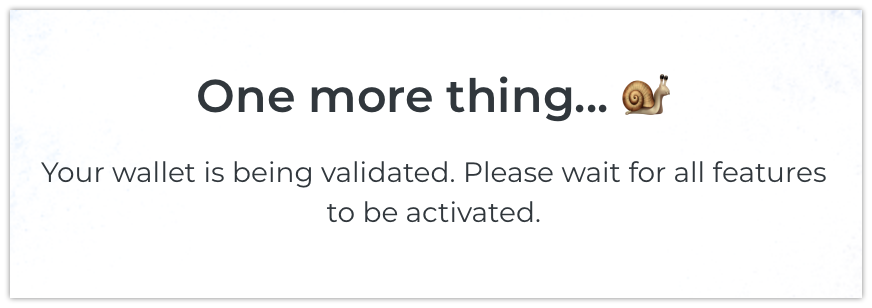
Wait for the wallet validation to complete and all features to become available:
Once the wallet is created, receive congratulations from Insolar:
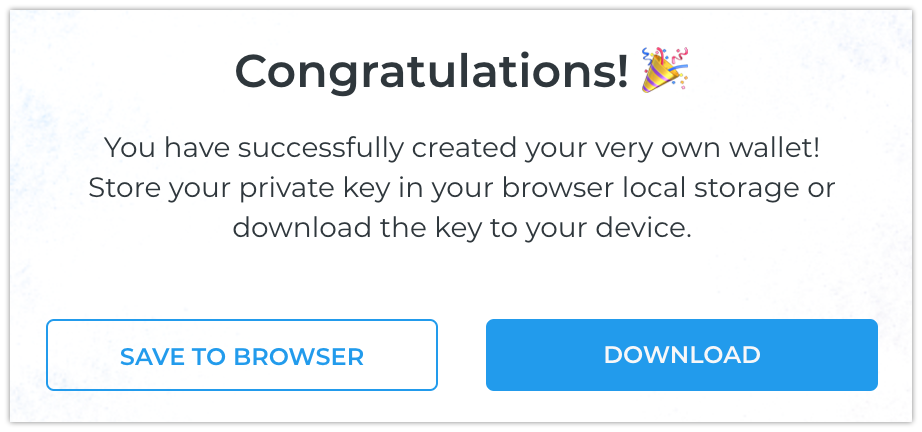
And save the keystore file in one of the following ways:
Click SAVE TO BROWSER to save it to your browser local storage. Keeping the file locally allows easier access from the browser on the device you are using.
Click DOWNLOAD to save it to your device. In this case, you can later move it to another device via, for example, a USB drive.
Later, you can log in using one of the following:
(Recommended) Hardware wallet (such as Ledger Nano X or S).
Your password and the keystore file saved to your device.
Your password and the keystore file saved to your browser.
(Weakest safety level) Unencrypted private key.
Either way, Insolar Wallet does not store your private key. Instead, it uses the private key provided every time to authorize login and operations. While logged in, you can copy your unencrypted private key, but keep in mind, this is its most vulnerable form.
In Insolar Wallet, open the SWAP tab and copy your migration address.
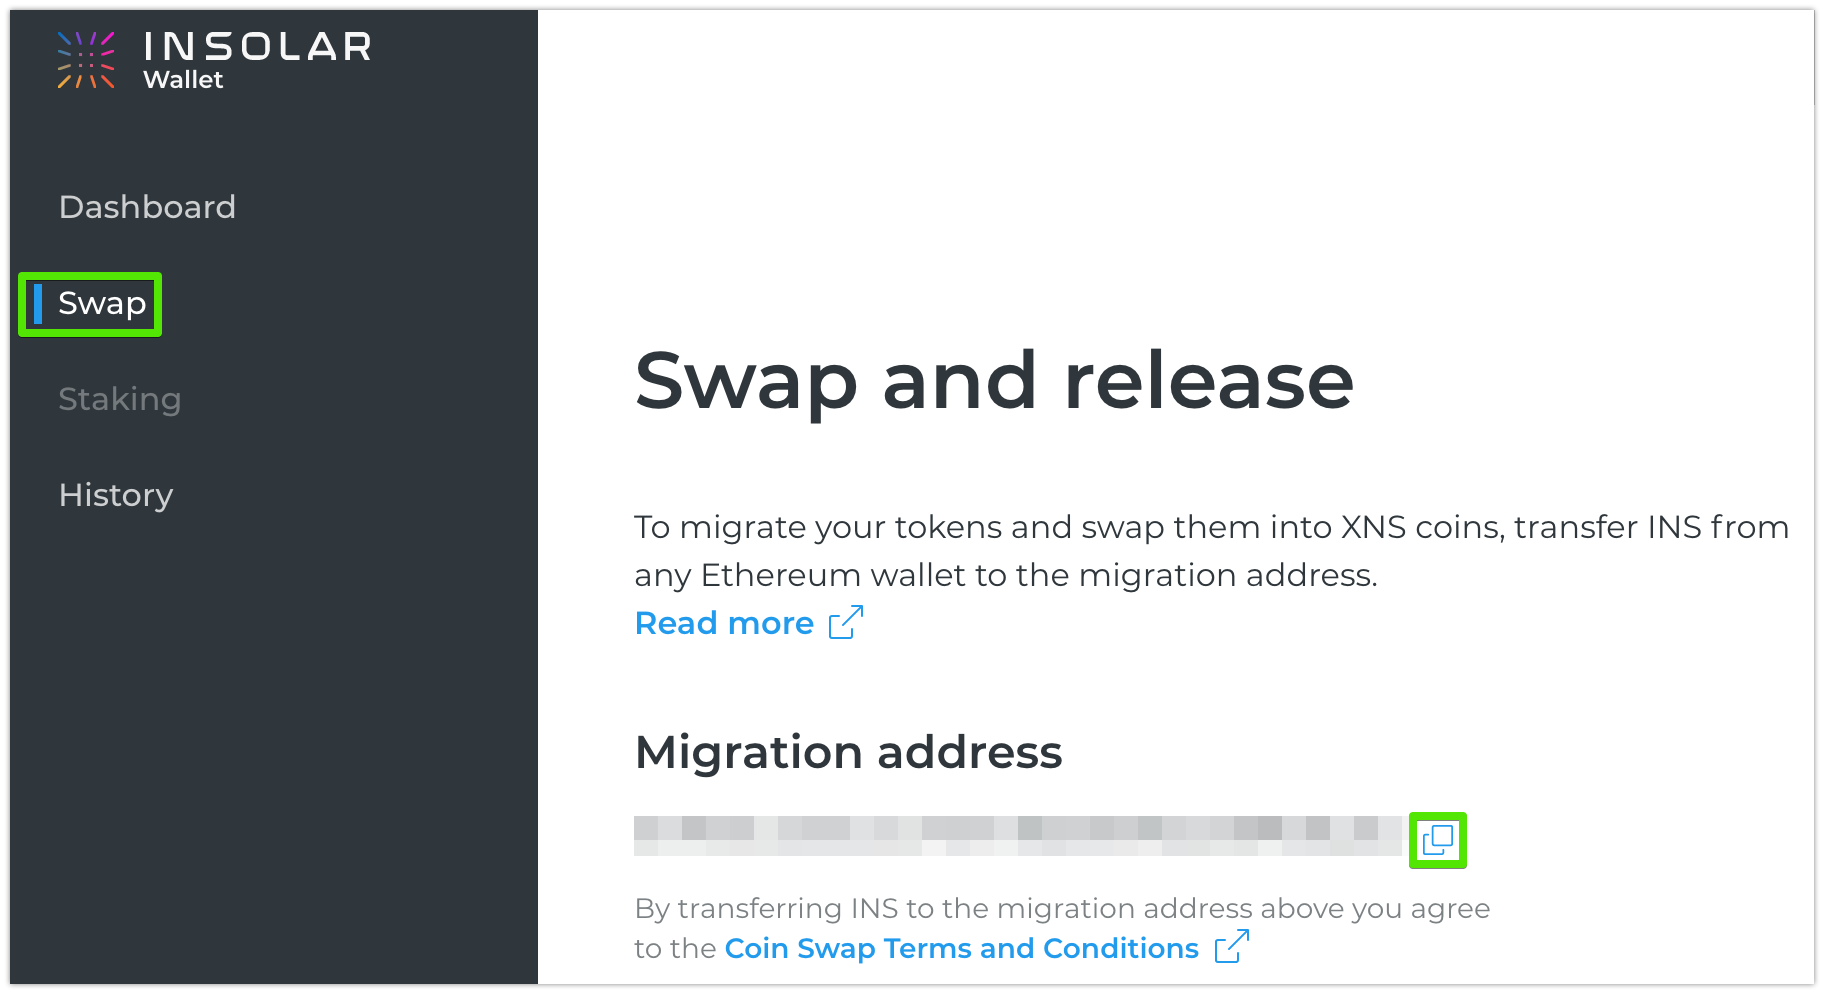
This is a special address in the Ethereum network. Insolar monitors INS tokens sent to it and automatically migrates and swaps them to XNS coins in the Insolar network.
Open your ERC-20 Ethereum wallet where you hold your INS, for example, MetaMask:
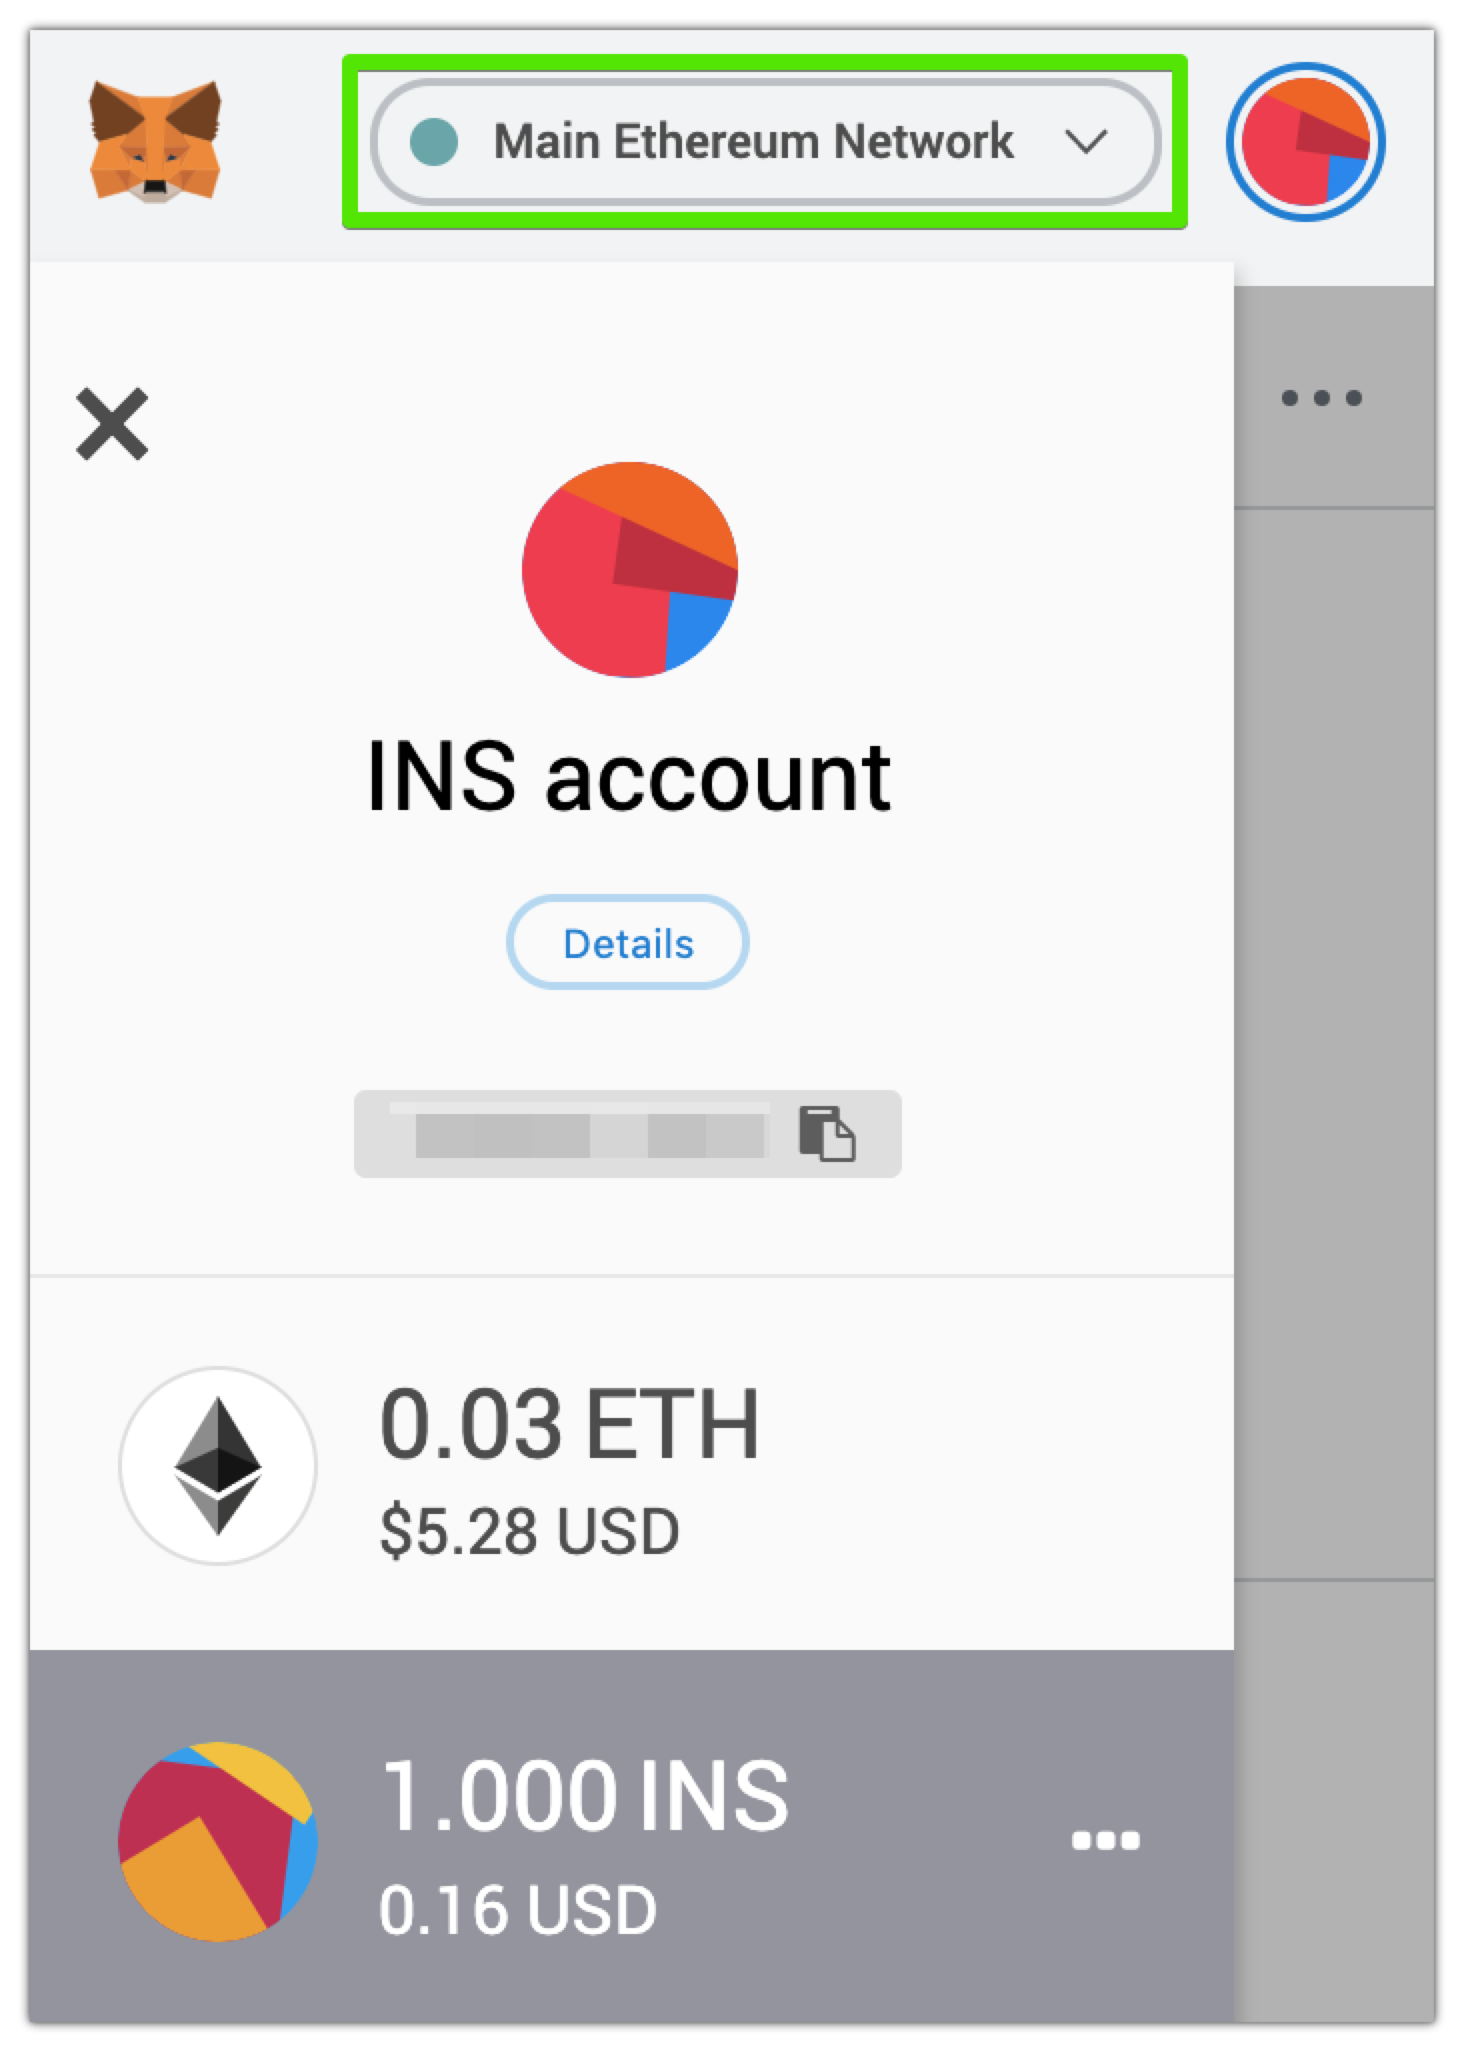
Make sure to select Main Ethereum Network and that you have some ETH for the transaction fee.
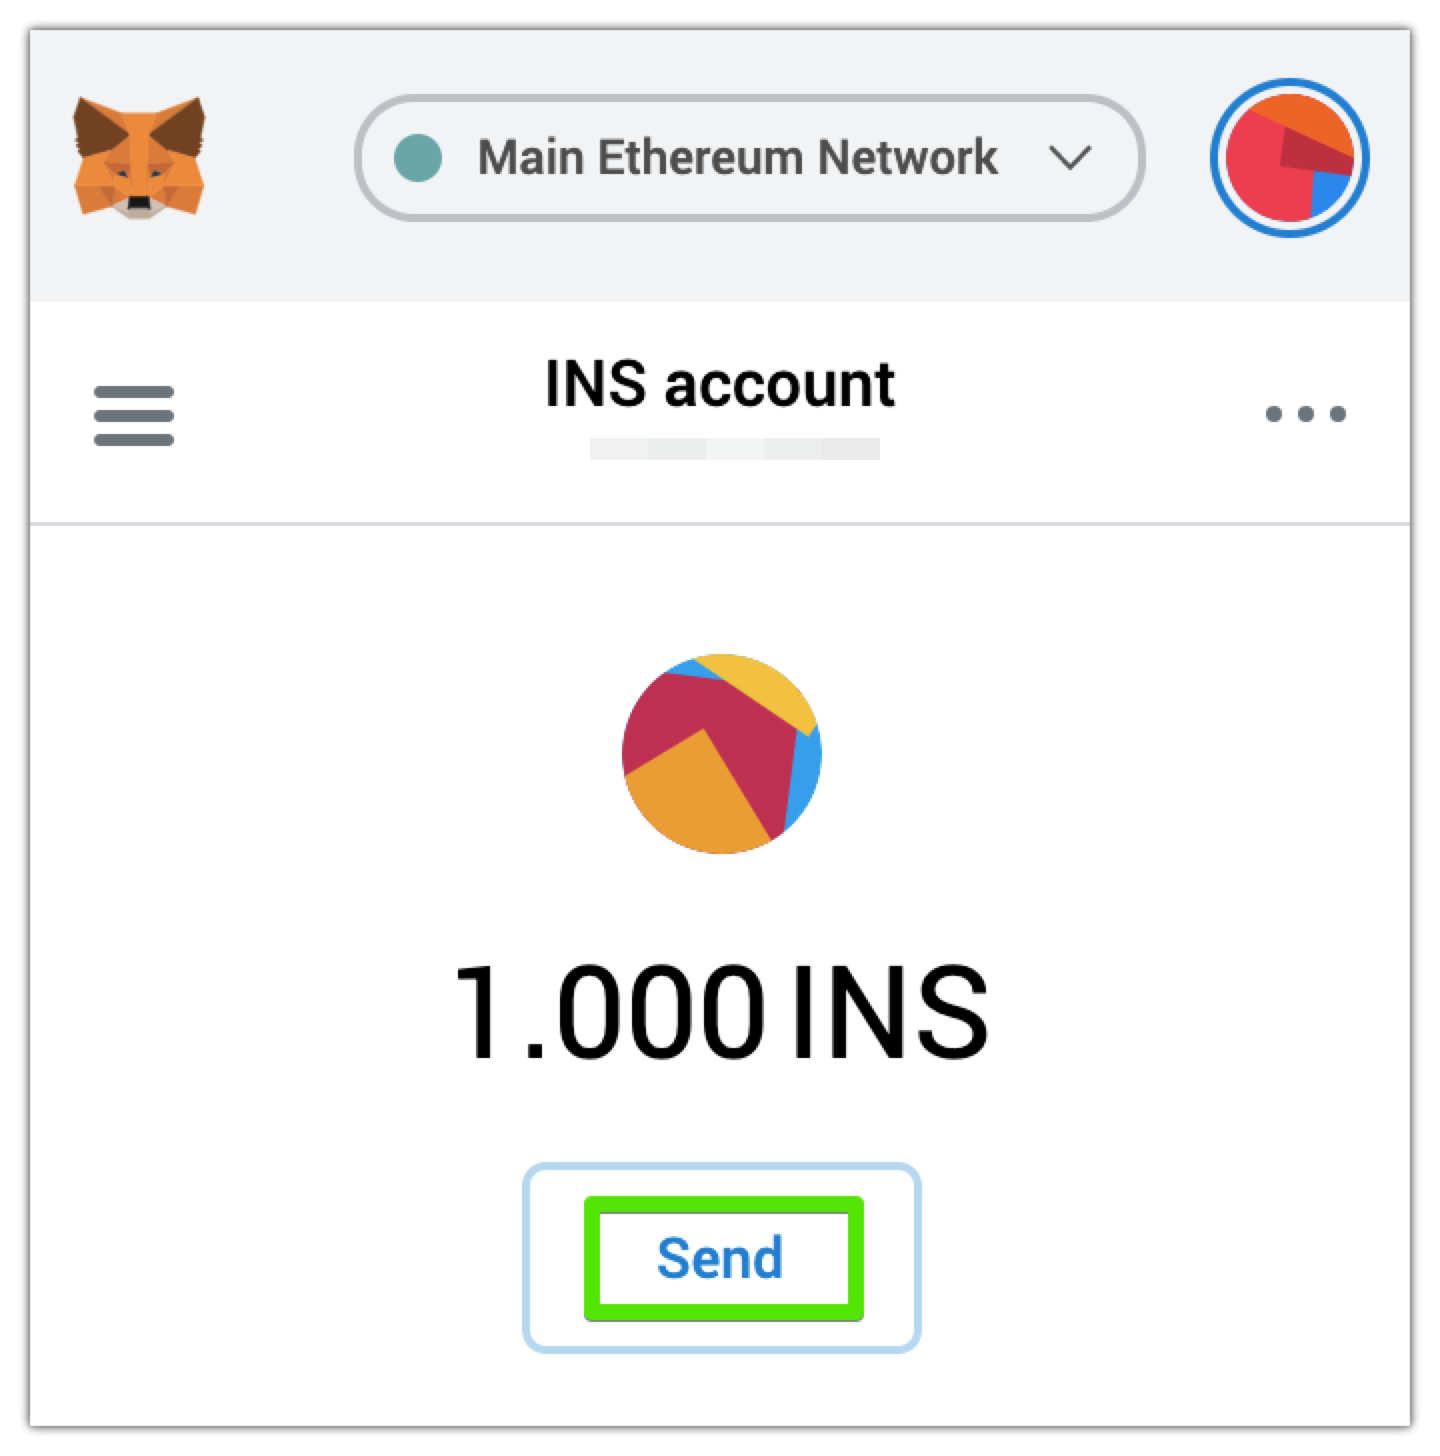
In the Ethereum wallet, select INS tokens and click SEND:
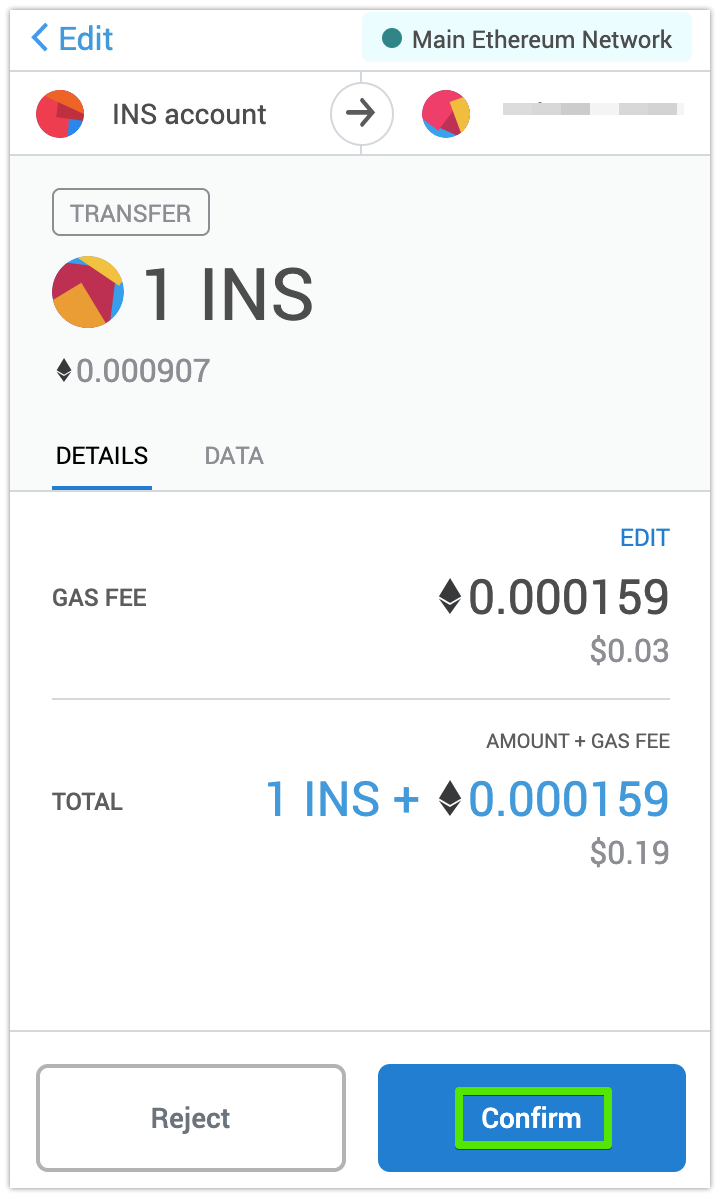
Paste the migration address to the Add Recipient field, enter the INS amount, select the transaction fee (in ETH), and click NEXT:

Confirm the transaction details:
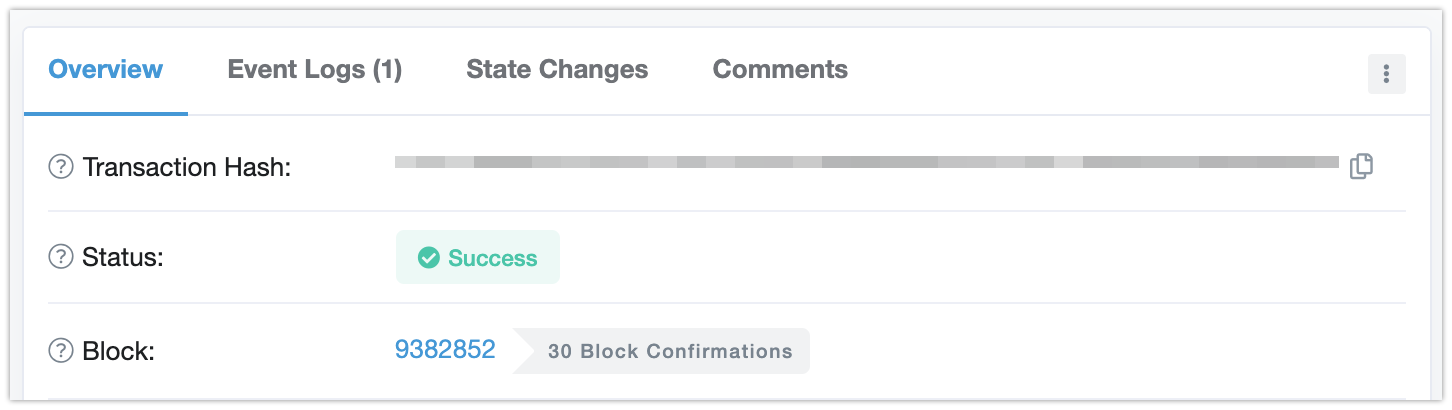
Wait for the transaction to go through on the Ethereum network. Optionally, check the transaction status at Etherscan — click the arrow button to view the transaction:
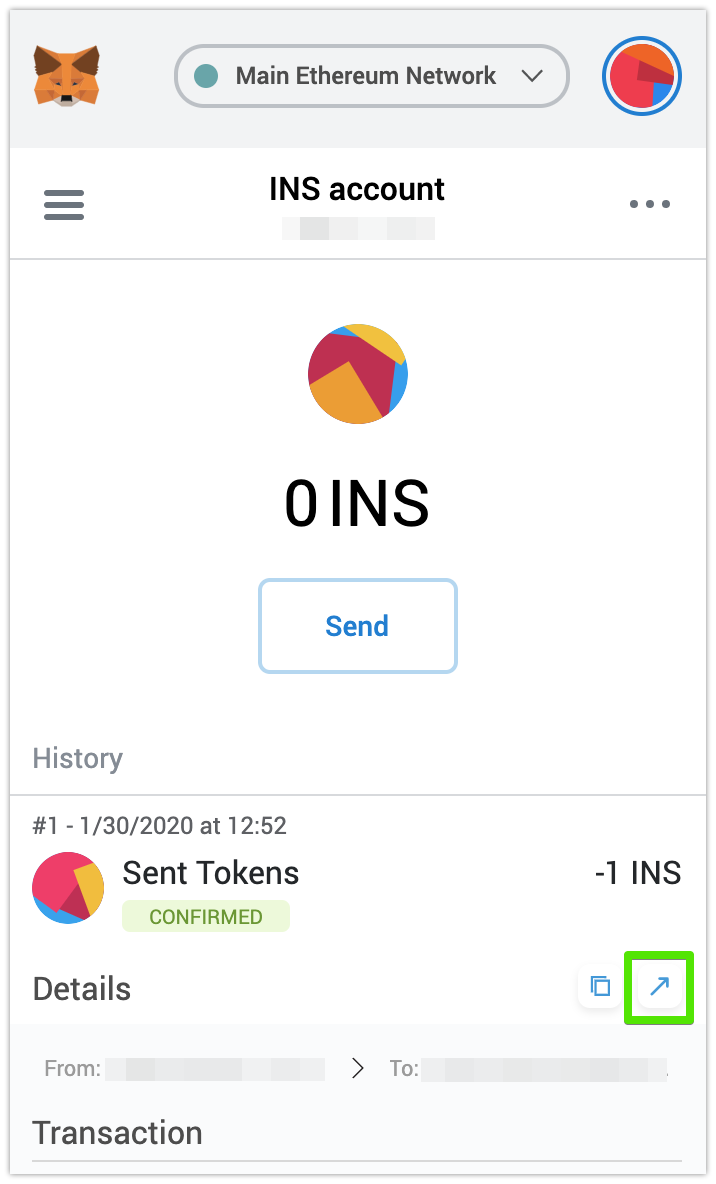
It usually takes 20 processed blocks to confirm the transaction.
Go back to the SWAP tab in your Insolar Wallet.
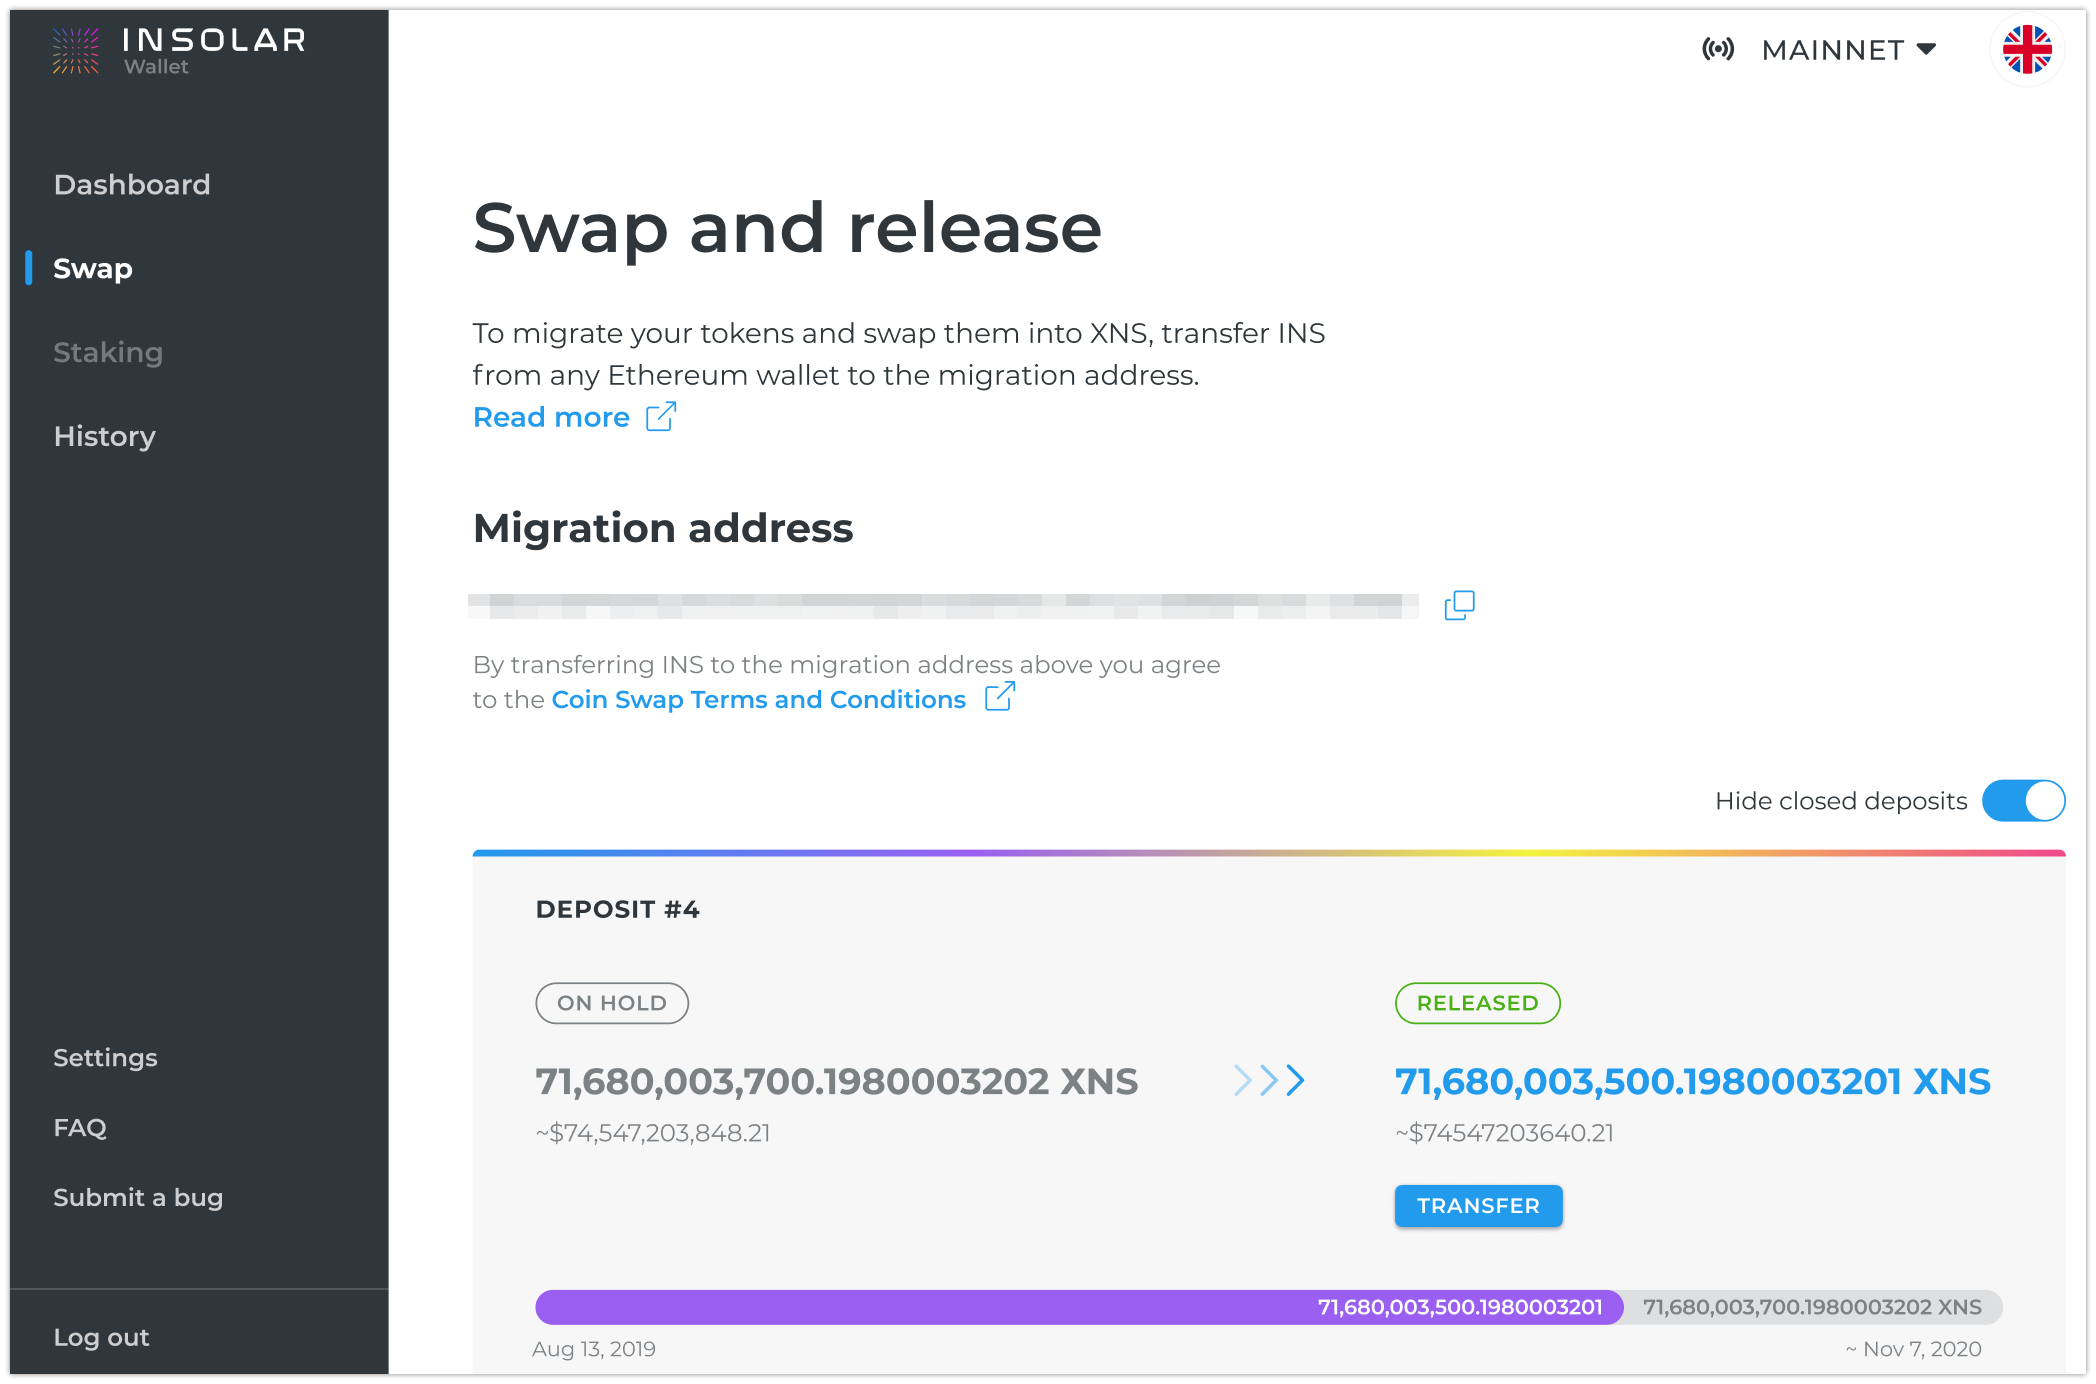
Congratulations! You swapped your INS tokens to XNS coins and they are now stored in your Insolar Wallet.